Features
Custom vehicle models
Step 1 - Introduction
In the cd_dispatch3d/configs/config_ui.js file you will find a list of jobs with their associated models.
A single entry in the list looks like this:
police: // Job name. Change this to the name of your job. This is used in the code and should be unique.
        {
            car:{ // Car model configuration. Do not change the name "car" as it is used in the code.
                file_name: "police.glb", // File name of the vehicle/ped model inside the models/placeable folder.
                scale: 2, // Scale of the model. 1 is default scale. Adjust as needed. Can use decimals (E.g. 0.01 or 0.1 and so on)
                position_adjustment: { // Position adjustment for the model. Adjust as needed. Shifts the model in the X, Y and Z axis.
                    x: 0,
                    y: 0,
                    z: 0,
                },
                rotation_adjustment: { // Rotation adjustment for the model in DEGREES. Adjust as needed. Correct rotation enables heading tracking.
                    x: 0,
                    y: 0,
                    z: 0,
                }
            },
            foot: {
                file_name: "s_m_y_cop_01.glb",
                scale: 3,
                position_adjustment: {
                    x: 0,
                    y: 0,
                    z: 0,
                },
                rotation_adjustment: {
                    x: 0,
                    y: 0,
                    z: 0,
                }
            },
            helicopter : {
                file_name: "polmav.glb",
                scale: 2,
                position_adjustment: {
                    x: 0,
                    y: 0,
                    z: 0,
                },
                rotation_adjustment: {
                    x: 0,
                    y: 0,
                    z: 0,
                }
            },
            boat : {
                file_name: "predator.glb",
                scale: 2,
                position_adjustment: {
                    x: 0,
                    y: 0,
                    z: 0,
                },
                rotation_adjustment: {
                    x: 0,
                    y: 0,
                    z: 0,
                }
            },
            motorcycle: {
                file_name: "policeb.glb",
                scale: 2,
                position_adjustment: {
                    x: 0,
                    y: 0,
                    z: 0,
                },
                rotation_adjustment: {
                    x: 0,
                    y: 0,
                    z: 0,
                }
            }
    },
The model files are located under cd_dispatch3d/models/placeable/
Note
The models we provide by default are GTA 5's default low quality models.
In case you are looking to implement your own models make sure they are not high poly count since it will make an impact on lower spec machines.
The job can have the next vehicle / transport types
- car
- foot
- helicopter
- boat
- motorcycle
You can either provide your own, use already existing models, or if you omit any from the list the script will use default models.
Step 2 - Models
Getting your models
Our best recommendation is getting the models from the game itself in their low quality version. These models are already optimized for the game, will work the best, as well as respect FiveM's terms of service.
Here are some interesting links which can have explanations on extracting game models:
- Codewalker - https://github.com/dexyfex/CodeWalker
- Sollumz - https://github.com/Sollumz/Sollumz
- Blender - https://www.blender.org/
*Alternatively you can grab models from websites like Sketchfab, however it might be difficult finding game optimized models with correct licensing.
Note
Please note that we will not provide support with extracting models, since it is a customization of the resource.
Installing models
Prepare your model files and paste them into cd_dispatch3d/models/placeable/
Important
The model files must be in a .glb format, otherwise the resource won't recognize the files and will fail to load them.
Keep a note of the file names, since you will need them for the next step.
Step 3 - Configuration
Copy the list from the introduction step and paste it below one of the items in the config_ui.js file.
Make sure you include the , symbol so the script doesn't break.
If you are using a code editor such as VSCode it should alert you in case you miss this.
Let's assume our new job is going to be called 'bcso':
In the code you pasted, rename 'police' to 'bcso'
Change each of the transport mode file names to the names of models you have added to the placeable/ folder
Example
bcso: // Job name. Change this to the name of your job. This is used in the code and should be unique.
        {
            car:{ // Car model configuration. Do not change the name "car" as it is used in the code.
                file_name: "sheriff.glb", // File name of the vehicle/ped model inside the models/placeable folder.
                scale: 2, // Scale of the model. 1 is default scale. Adjust as needed. Can use decimals (E.g. 0.01 or 0.1 and so on)
                position_adjustment: { // Position adjustment for the model. Adjust as needed. Shifts the model in the X, Y and Z axis.
                    x: 0,
                    y: 0,
                    z: 0,
                },
                rotation_adjustment: { // Rotation adjustment for the model in DEGREES. Adjust as needed. Correct rotation enables heading tracking.
                    x: 0,
                    y: 0,
                    z: 0,
                }
            },
            foot: {
                file_name: "s_m_y_sheriff_01.glb",
                scale: 3,
                position_adjustment: {
                    x: 0,
                    y: 0,
                    z: 0,
                },
                rotation_adjustment: {
                    x: 0,
                    y: 0,
                    z: 0,
                }
            },
            helicopter : {
                file_name: "polmav.glb",
                scale: 2,
                position_adjustment: {
                    x: 0,
                    y: 0,
                    z: 0,
                },
                rotation_adjustment: {
                    x: 0,
                    y: 0,
                    z: 0,
                }
            },
            boat : {
                file_name: "predator.glb",
                scale: 2,
                position_adjustment: {
                    x: 0,
                    y: 0,
                    z: 0,
                },
                rotation_adjustment: {
                    x: 0,
                    y: 0,
                    z: 0,
                }
            },
            motorcycle: {
                file_name: "policeb2.glb",
                scale: 2,
                position_adjustment: {
                    x: 0,
                    y: 0,
                    z: 0,
                },
                rotation_adjustment: {
                    x: 0,
                    y: 0,
                    z: 0,
                }
            }
    },
Step 4 - Running
After completing the previous 2 steps, it is time to test our work!
In case your server is already running:
Type refresh in server console, followed by ensure cd_dispatch3d
This should make sure the server loads all the necessary files.
In case your server is not started simply start the server.
To test our implementation switch your job to the one you just added, open the large UI and take a look at your character!
Important
In case the map displays a model you don't recognize, it probably is the default model we provide.
If the script breaks completely, something definitely went wrong with the steps.
It is best to try following the steps again and repeating the implementation.
Congratulations on implementing your custom models!
Dispatcher
How Does the Dispatcher System Work?
The dispatcher system lets dispatchers receive incoming calls and assign them to specific players.
Only players with the predefined jobs and grades listed inConfig.Perms.Dispatchercan use this feature.
When a player has dispatcher mode enabled, non-dispatchers will not receive any calls until a dispatcher assigns them one.
How to Enable Dispatcher Mode
Open the Dispatch UI, click the settings icon (top-right corner), and select Toggle Dispatcher Mode.
If the option is greyed out or not clickable, you don't have the required job or job grade.
How to Assign Units/Groups to a Notification
Right-click a notification on the Notification Panel (left side of your screen).
If assigned successfully, the selected unit(s) will appear under Units Responding for that notification.
How to Speak on the Radio
While the large UI is open, click the Voice ON button (top-right corner).
When enabled, the button will turn white.
Then, press your radio push-to-talk key to speak on the radio.
How to Join, Leave, or Set Radio Channels
While the large UI is open, right-click a unit in the Unit List (top-right corner).
- Click Join Radio Channel to connect.
- Click Leave Radio Channel to disconnect.
Dispatch Settings
What Do the Settings Do and How Does This Work?
The Settings menu allows each player to customise their dispatch preferences to match their individual role-play needs.
Watch the short video below to learn how to open the settings.
Status
Your status shows other players what you're currently doing such as Available, Unavailable, Processing, Training, or Undercover.
This status appears on the Units List as a colour indicator (e.g., Green = Available, Red = Unavailable, Blue = Training).
You can configure these statuses and colours in config_ui.js.
Players' Status Displayed on the Units List
Dispatcher Mode
Enables Dispatcher Mode, allowing a player to act as a dispatcher.
This option is only available if the player has the required permissions set in config.lua.

Dispatcher Permissions Configuration (config.lua)
Job Call Commands
How Do Job Call Commands Work?
When a civilian uses a job call command (e.g., /911), a notification is sent to the relevant job such as the police.
You can configure multiple jobs to use this system.After receiving a call, players in that job can respond using the
/replychat command.
Calls can also be made anonymous by enabling the anonymous option when creating a notification.
Anonymous calls hide the caller's name and phone number, and display radius blips for an approximate location instead.
Player Blips
How Do the Blips Work?
The built-in player blips feature allows all players with the jobs listed in
Config.AllowedJobsto see each other on both the pause menu map and the mini-map.These blips display enhanced information pulled directly from the dispatch UI, including the player's character name, callsign, radio channel, and vehicle type.
Blips will also flash automatically when a player's emergency lights are activated.
Police Alerts
How Do Police Alerts Work?
This dispatch system includes 11 built-in police alerts, each with its own random call chance and individual cooldowns, covering scenarios such as gunshots, speed cameras, car crashes, and more.
Testing Note
When Config.Debug is enabled:
- Police call chance is forced to 100%
- Whitelisted jobs are ignored
- Alert debug information is shown
(This is for testing only and should be disabled in live servers.)
Witness Ped System
Nearby NPCs can act as witnesses and call the police if:
- They are within a configurable distance
- They have line of sight to the player
You can also configure:
- Multiple witnesses calling police
- A time window to harm or eliminate witnesses before they report
- Blacklisted ped models
- No-snitching zones where witnesses will never report crimes
Included Police Alerts
- Car Crash
Triggers when you crash into another vehicle at or above a set minimum speed and come to a sudden stop. - Carjacking
Police are called when you forcibly remove an NPC from their vehicle. - Explosion
Detects explosions and alerts police. - Gunpoint Carjacking
Pointing a gun at an NPC driver causes them to stop and flee, triggering an alert. - Gunshots
- Nearby witnesses report the weapon type (pistol, rifle, shotgun, etc.).
- If no direct line of sight, nearby NPCs may still report heard gunshots (single shots, rapid fire, loud weapons).
- Supports weapon and zone whitelisting.
- Melee Fight
Triggered when you engage in a fist fight or melee combat with an NPC using fists, blunt weapons, or bladed weapons. - Reckless Driving
Triggered when NPCs witness dangerous or high-speed driving. - Speed Trap
Speed cameras trigger alerts when speed limits are exceeded and can issue fines. - Vehicle Alarm
Alerts police when a vehicle alarm is triggered due to break-ins or damage. - Vehicle Assault
Triggered when running over an NPC with a vehicle. - Weapon Drawn
Police are alerted when walking around with a visible weapon.
Radio Channels
How Do Radio Channels Work?
Radio channels allow players to see which channels others are using and quickly join or leave channels directly through the large dispatch UI.
You'll need to use a compatible VOIP and radio resource.
By default, cd_dispatch3d includes compatibility with TokoVOIP, Mumble, and pma-voice.
Where Are the Radio Channels Displayed?
Radio channels are shown in two places:
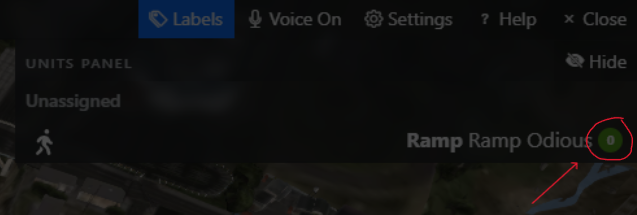
- On the Dispatch UI
- On the pause menu and mini-map blips
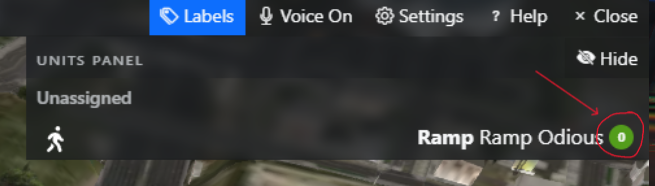
Radio Channel Displayed on the Dispatch UI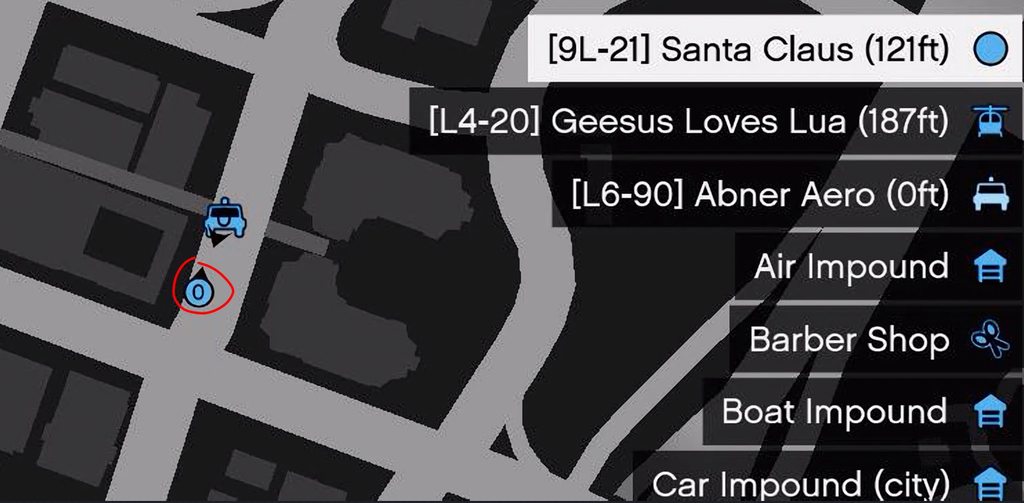
Radio Channel Displayed on the Pause Menu Map
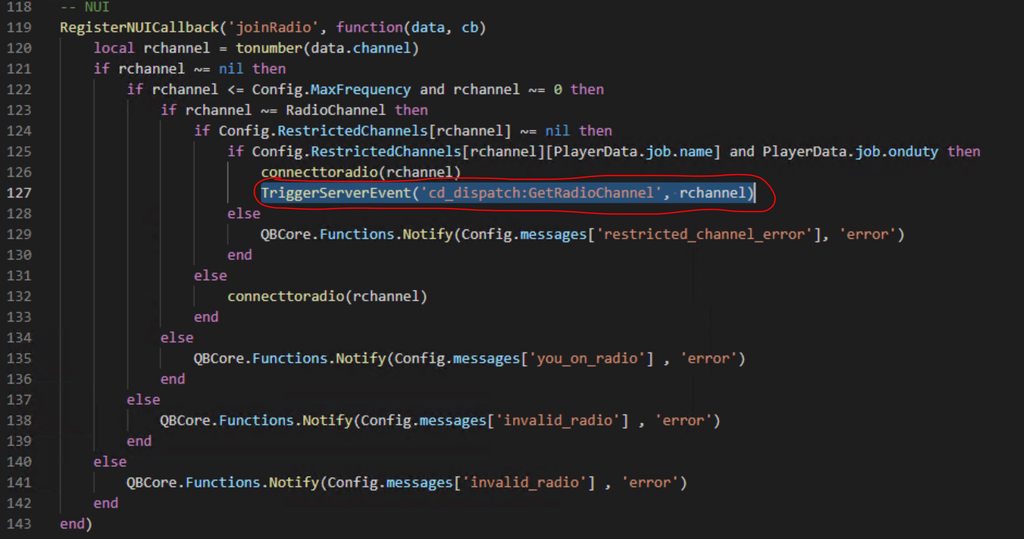
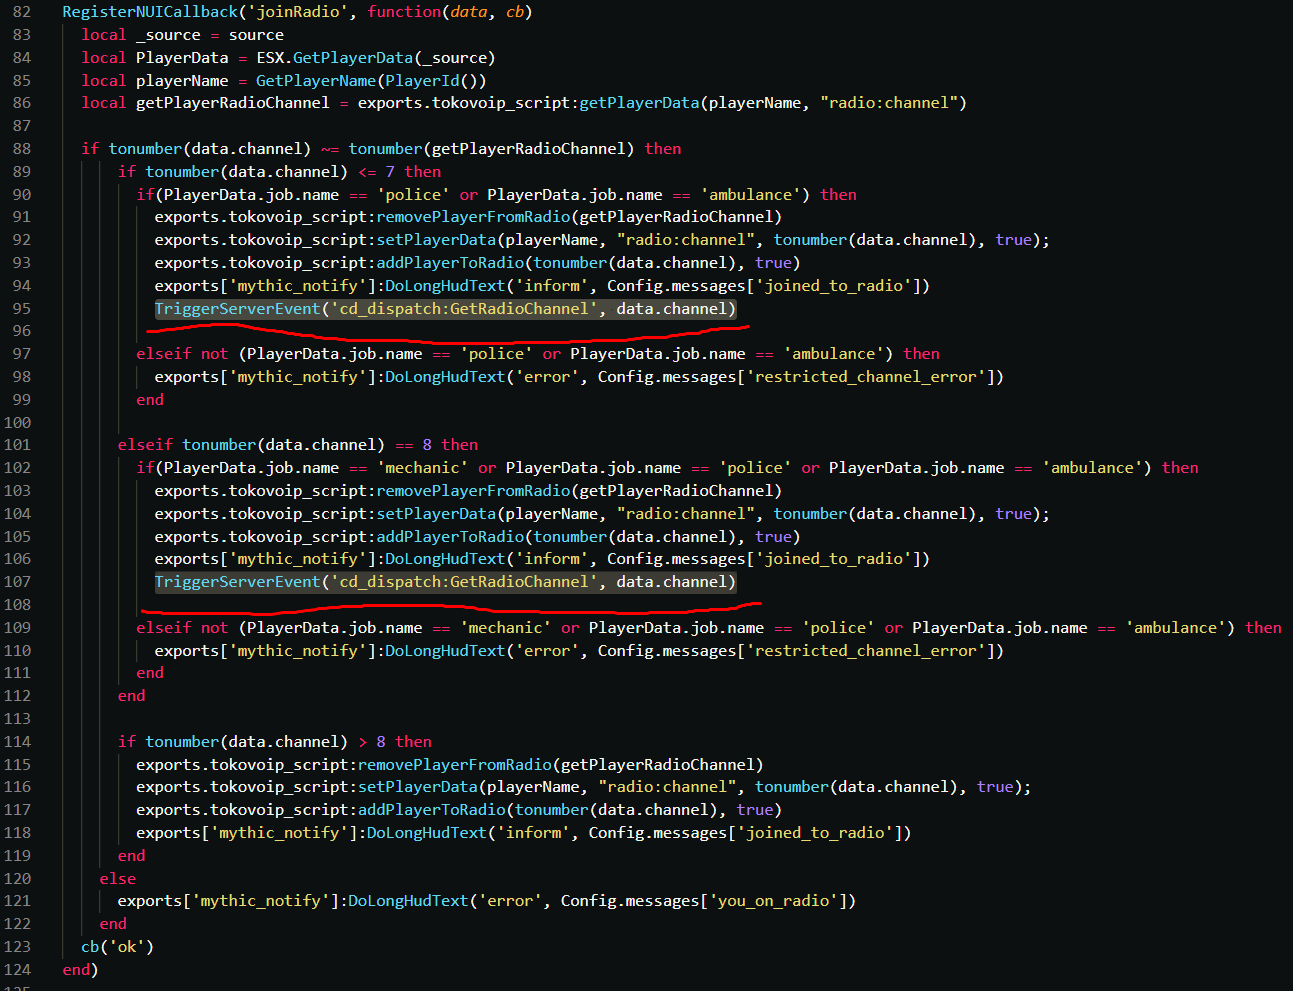
To update this information, an event must be triggered from your radio resource whenever a player (who has access to dispatch) joins, leaves, or changes a radio channel.
The player's new radio channel must be sent as the first argument.